If you’ve ever been curious on how to convert a disk that is formatted for an unusual sector size (4k, 520, etc.) to 512 try this
camcontrol cmd da33 -v -c “15 10 0 0 v:i1 0” 12 -o 12 “0 0 0 8 0 0:i3 0 v:i3” 512
diskinfo -v /dev/da33
camcontrol format da33 -y
diskinfo -v /dev/da33
For the original article check out this link or read on for a copy of the article
So I have some disks I got from a friend, he got them off ebay and they didn’t work for him, he couldn’t get his RAID controller to format them at all. After doing some research I came to the conclusion he didn’t have the equipment needed to reformat them. I offered to buy them from him, since I thought I knew the issue and thought I could get them working. Looking at the SKU it seemed these came from a NetApp storage array which I have some experience with. I knew the sector size used by NetApp’s is 520. The extra 8 bits is used for integrity validation.
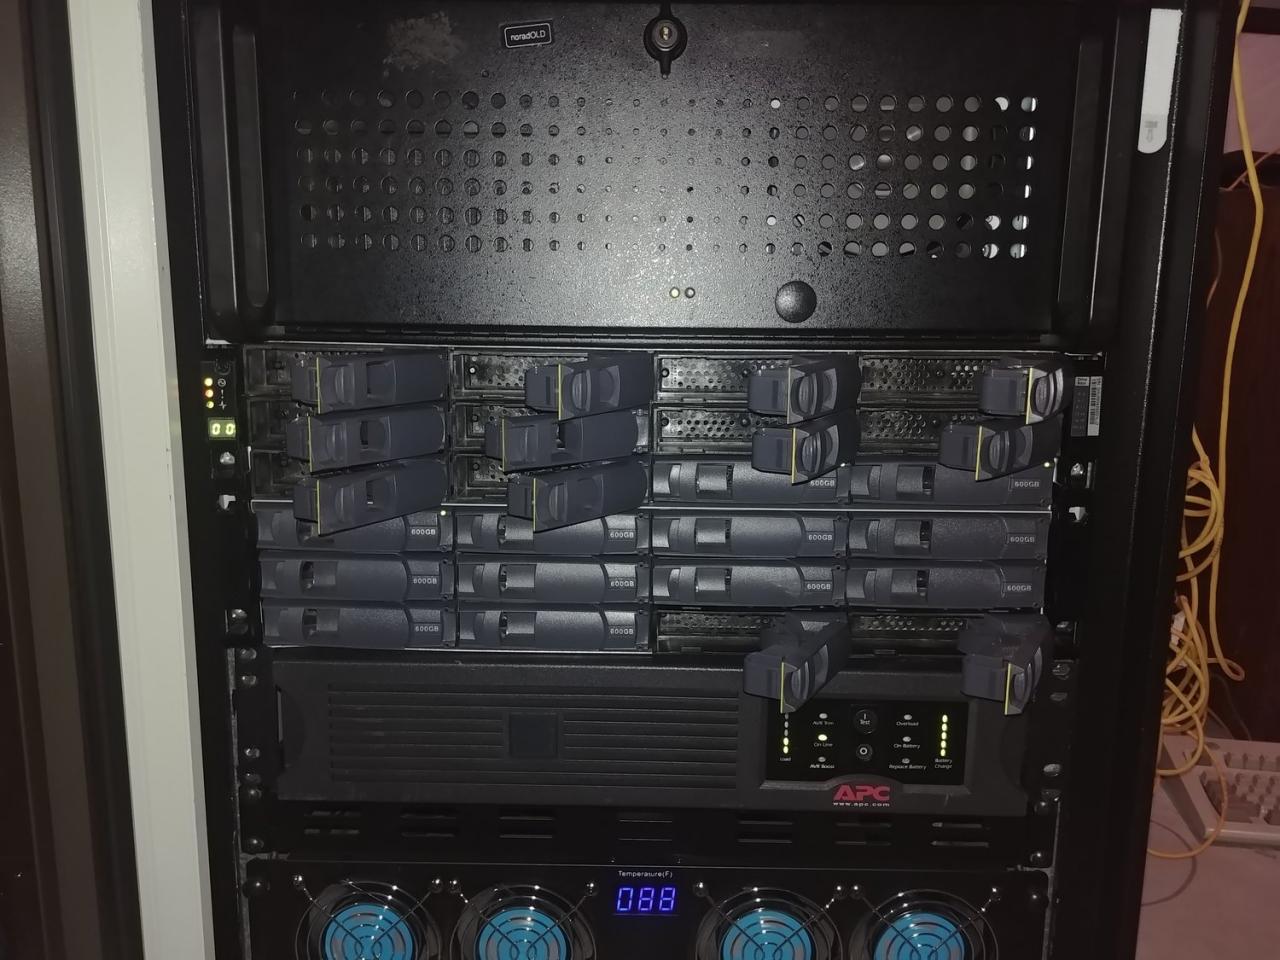
I do have a problem however; the only system I have that can connect to the disks (SAS 3.5 inch drives) is my SAN through an, ironically, NetApp shelf. My SAN is running FreeNAS, which is based on FreeBSD. Now I know linux and windows well enough but BSD outside of my SAN I have never worked with directly. I didn’t even know how to list the disks attached to the system when I started.
camcontrol devlist
or
geom disk list
Procedure
I started this project by removing all the disks I didn’t want to accidentally break.
It’s always good to verify your backups too.
Then through the webGUI I enabled SSH and jumped on to the box.
First thing I wanted to do was identify the drives I wanted to work on. This is where I learned my first command for FreeBSD.
camcontrol devlist
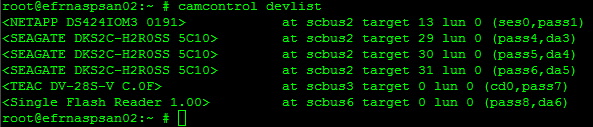
Now I got 3 drives that were all the same make and model so it is pretty easy to identify them. da3, da4, & da5. So I know what drives I want to work on now to the WHAT. I verified my suspensions about the disk geometry using
diskinfo -v da3
But HOW to change it…
And I honestly had no idea where to start except for with google. I eventually found my way to THIS website. Someone trying to do the same thing I am. Which gave me the black magic command:
camcontrol cmd da1 -v -c "15 10 0 0 v:i1 0" 12 -o 12 "0 0 0 8 0 0:i3 0 v:i3" 512
I have no idea what this string does aside from I know da1 is the drive I want and 512 is the sector size I want and per the man page
“The camcontrol utility can cause a loss of data and/or system crashes if used improperly. Even expert users are encouraged to exercise caution when using this command. Novice users should stay away from this utility.”
This sounds perfect. I mean if I trash the drives I haven’t lost anything so… What’s the worst that can happen? So I look for the cmd flag in the man page to see what it does.
camcontrol cmd [device id] [generic args] ⟨-a cmd [args]⟩ ⟨-c cmd [args]⟩ [-d] [-f] [-i len fmt] [-o len fmt [args]] [-r fmt]
Great not helpful. But “-v” is for verbose output of failed SCSI commands after more googling and man page reading I learned that “-c” sends SCSI CDB (command descriptor block) which according to wikipedia. “SCSI commands are sent in a command descriptor block (CDB), which consists of a one byte operation code (opcode) followed by five or more bytes containing command-specific parameters. Upon receiving and processing the CDB the device will return a status code byte and other information.”
More reading of the man page “cam_cdbparse” while I couldn’t identify the exact command being run I think it is something along the lines of output the disk sectors, (and other important information) the “-o” seems to take the output of the -c command and write it to the disk .
So now I am fairly confident that this won’t break anything so I run the full command for each one of my disks.
camcontrol cmd da5 -v -c "15 10 0 0 v:i1 0" 12 -o 12 "0 0 0 8 0 0:i3 0 v:i3" 512
camcontrol cmd da4 -v -c "15 10 0 0 v:i1 0" 12 -o 12 "0 0 0 8 0 0:i3 0 v:i3" 512
camcontrol cmd da3 -v -c "15 10 0 0 v:i1 0" 12 -o 12 "0 0 0 8 0 0:i3 0 v:i3" 512
Then I have to format the drives using:
camcontrol format da3 -q -y
camcontrol format da4 -q -y
camcontrol format da5 -q -y
Each command was run in a separate window though I am sure I could have forked them to the background I didn’t want to take that chance. These commands are fairly straight forward. “format [device]” “-q” for quite and “-y” to answer yes to any questions. In retrospect I wish I had run it without the -q command so I could watch the status.
The man page specifies that the format command does not need to be used in most cases as it is a low level format, but is useful when changing sector sizes.
“There are relatively few scenarios that call for low-level formatting a disk. One reason for low-level formatting a disk is to initialize the disk after changing its physical sector size.”