Synopsis: One of the biggest problems I have seen
with Office 365 is ease in accessibility to all of the Office365
resources. As pointed out on many of the Microsoft forums, SharePoint,
CRM, Skydrive, etc. do not automatically complete a single-sign on
request when browsing the website.
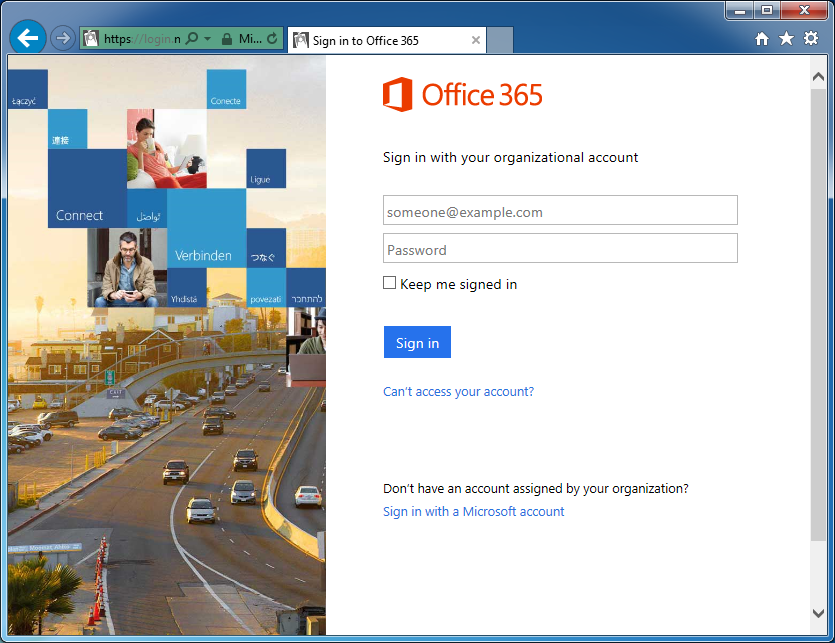
Problem: When a user
browses https://mydomain.sharepoint.com for example, the user is
prompted to enter in their email address. What a user expects is that
they should automatically be logged in and see sharepoint when
navigating to https://mydomain.sharepoint.com Additionally, for
whatever reason, users cannot remember the website address to
https://mydomain.sharepoint.com Instead, they want to do something like
http://sharepoint.mydomain.com
Solution: Create name branded “fancy URLs” that will complete an idp claim to give the user a true SSO experience.
- http://owa.mydomain.com
- http://sharepoint.mydomain.com
- http://skydrive.mydomain.com
- http://crm.mydomain.com
Solution:
- Open up Internet Explorer
- Navigate to https://mydomain.sharepoint.com
- Press F12 to open up the developer tools console (I am running IE
11, the console looks way different than previous versions of IE)
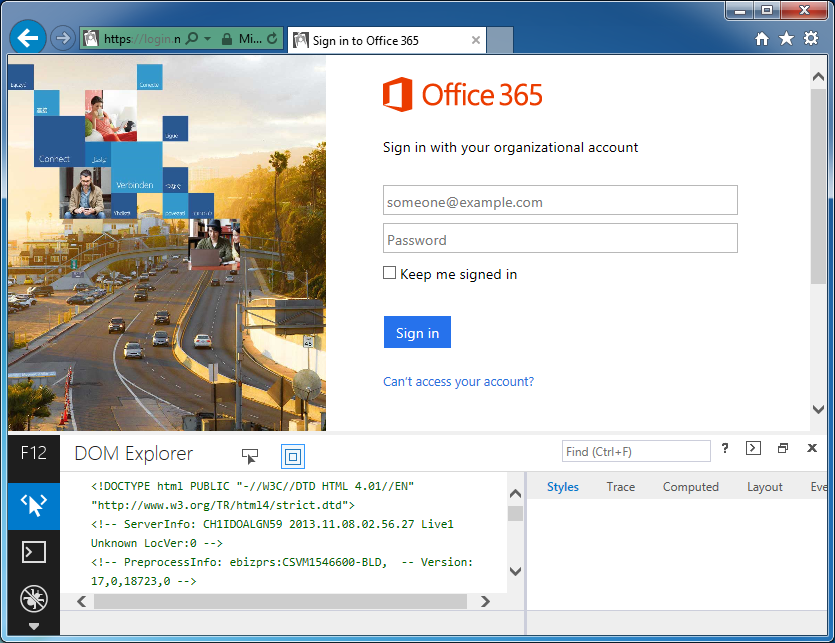
- Scroll down and select the icon that looks like a little WiFi antenna

- Click the green play button
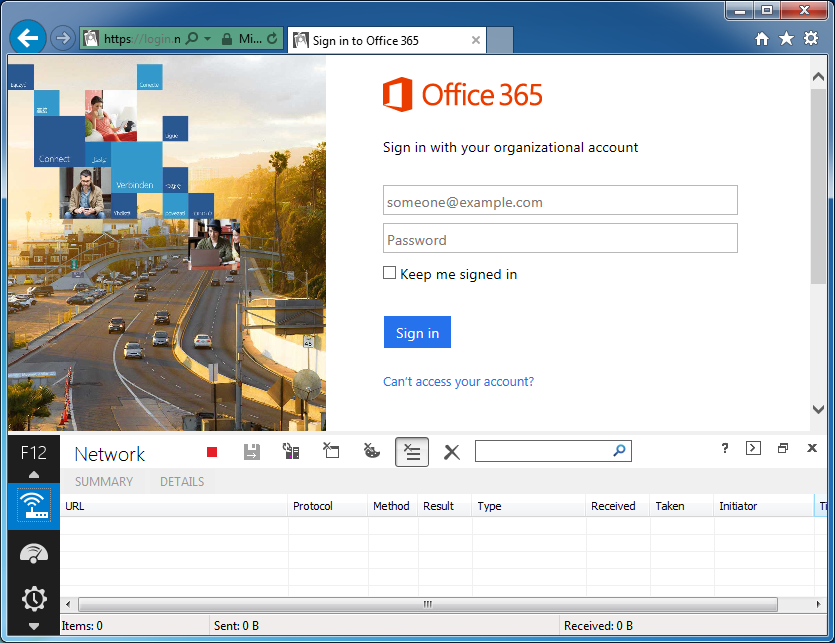
- Type in your email address as you would to login to sharepoint (myusername@mydomain.com)
- You should be redirected to your ADFS server and inside the network
console, you should see a link like
https://sts.mydomain.com/adfs/ls/?……………… Copy this link into notepad.
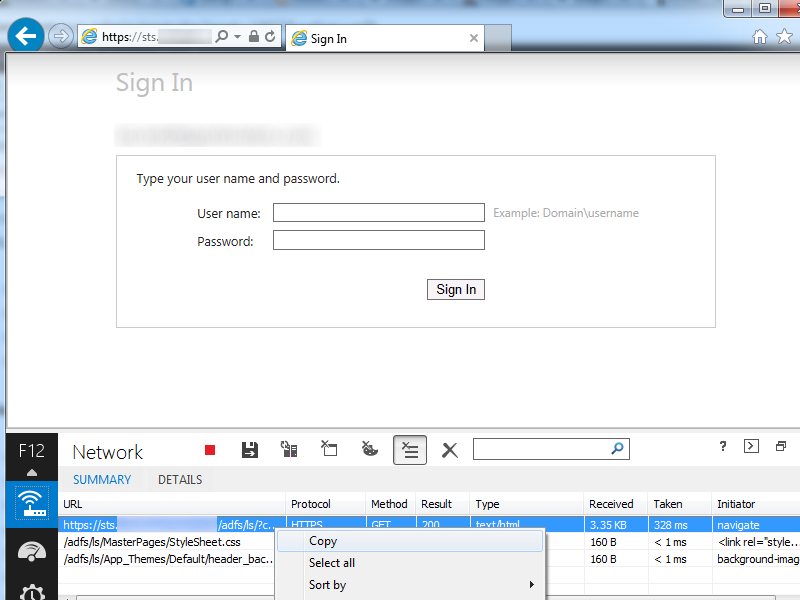
- Remove the extra stuff from the debug console
Before

After

- Remove everything from cbcxt=….. to wa=wsignin1.0

- Remove the ct%3D1386214464%26 and bk%3D1386214464%26 parameters

- Next, open up another new notepad document named index.html and paste the following text into it
<!DOCTYPE html PUBLIC "-//W3C//DTD XHTML 1.0 Strict//EN"

"http://www.w3.org/TR/xhtml1/DTD/xhtml1-strict.dtd"><html xmlns="http://www.w3.org/1999/xhtml"><head>
<meta http-equiv=”refresh” content=”0; url=https://sts.mydomain.com link goes here” /></head><body>
</body>
</html>
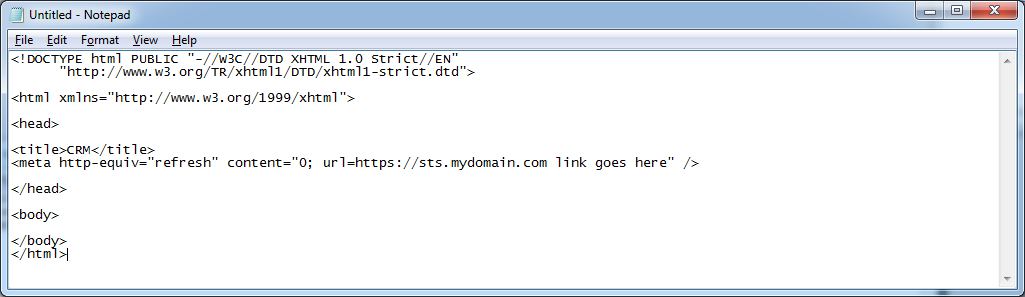
- Replace https://sts.mydomain.com link goes here with your new smart link and save the document.

- Upload the index.html file to one of your your webservers
- Create a new A record called sharepoint.mydomain.com pointing to your webserver
- Now when a user browses http://sharepoint.mydomain.com, the user
will automatically be redirected to your secure ADFS Proxy and
authenticate automatically.
You will need to repeat the steps above for each of the Office 365
products your company uses. The federated addresses do change, so you
will have to follow all of the steps over again for each Smart Link you
wish to create.
NOTES:
Here is an official article on creating smart links: http://community.office365.com/en-us/wikis/sso/using-smart-links-or-idp-initiated-authentication-with-office-365.aspx